Featured tool
SDK Studio — sdk.raia.run
The hosted tool we built for configuring and testing the Live Chat widget end-to-end. Generate your embed snippet, preview commands live, and copy production-ready code into your app.
Launch SDK Studio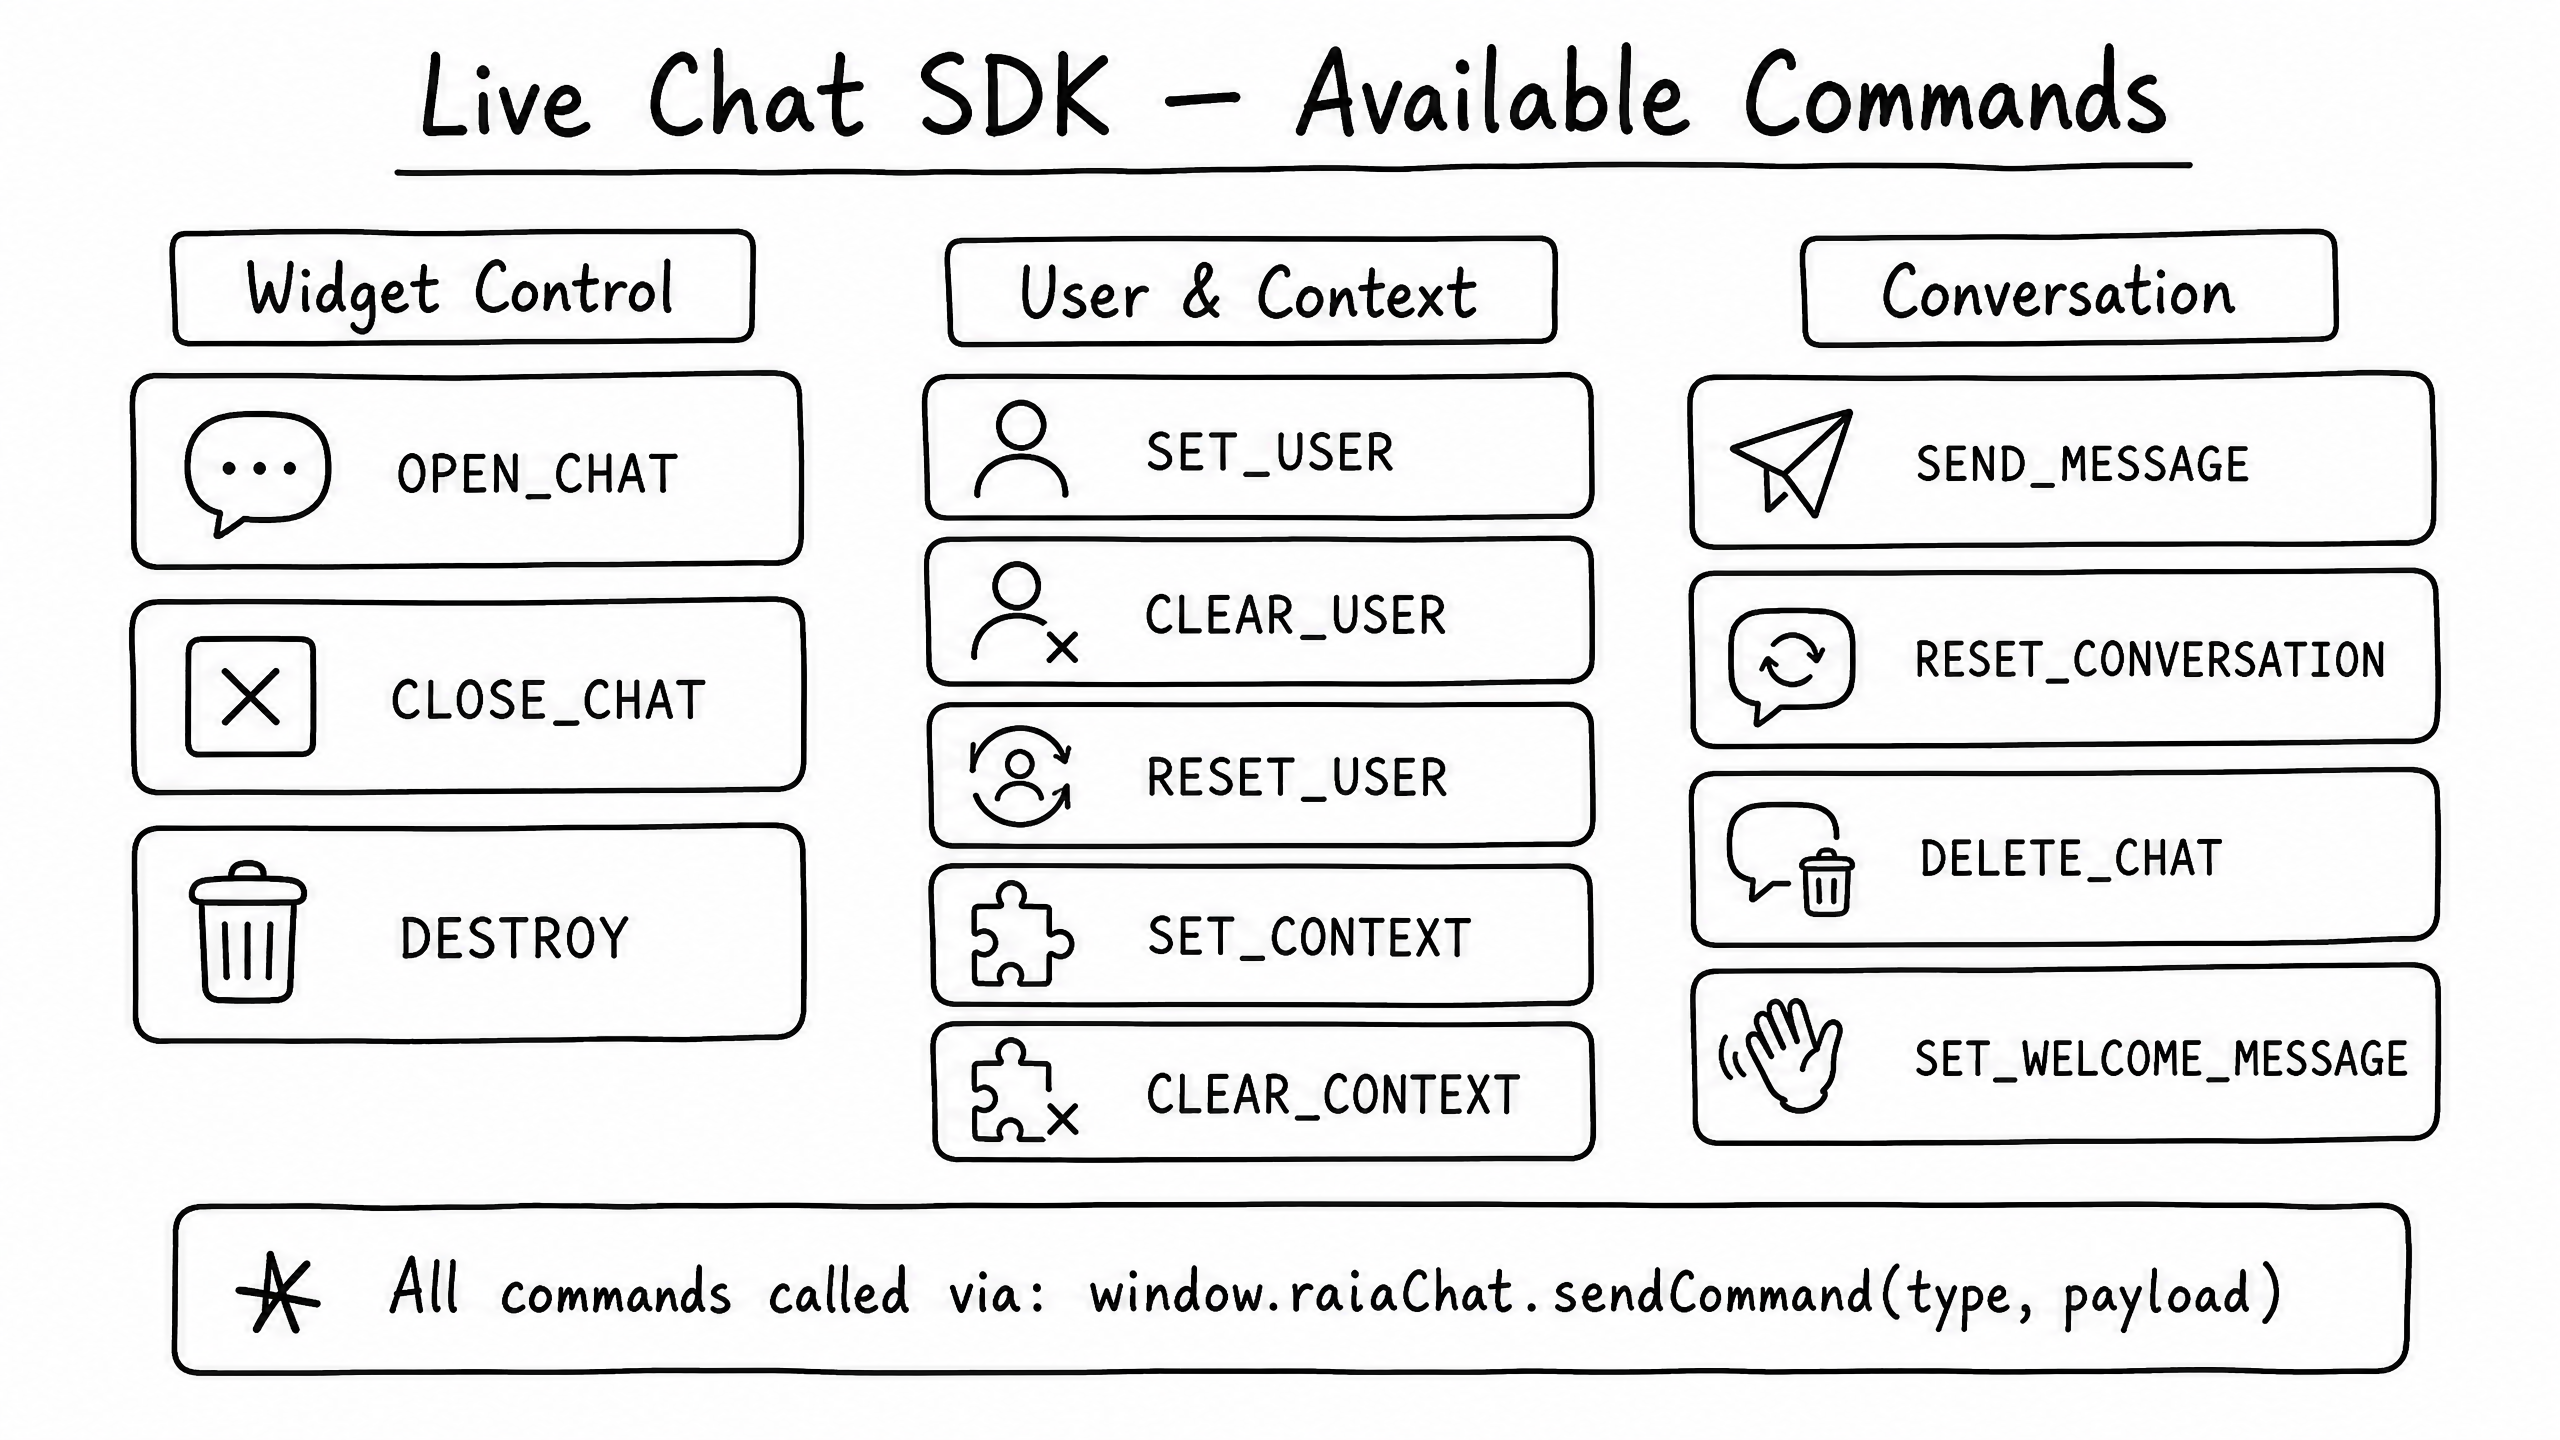
Overview
The raia Live Chat SDK embeds the agent widget into your web app and lets you control it programmatically from JavaScript.
Embedding in a Zoho Desk Help Center?
Installation
Paste this script just before the closing </body> tag of your page. The exact tag for your agent is shown in raia Command under the Live Chat Skill settings.
<script
  src="https://chat.raiaai.com/widget.js"
  data-api-key="{your-public-agent-id}"
  defer>
</script>
Security note
The window.raiaChat object
Once the script loads, the SDK exposes a global window.raiaChat object. You interact with the widget exclusively by sending commands through it.
window.raiaChat.sendCommand(COMMAND_TYPE, payload);Widget control commands
| Command | Payload | Description |
|---|---|---|
OPEN_CHAT | { page?: string } | Opens the chat window. Optionally navigates to a specific internal page. |
CLOSE_CHAT | None | Closes the chat window, minimizing it to the launcher button. |
DESTROY | None | Completely removes the widget from the DOM and cleans up event listeners. |
User & context commands
| Command | Payload | Description |
|---|---|---|
SET_USER | { user: UserInfo } | Passes user identity (name, email, customData) to the agent. |
CLEAR_USER | None | Removes the current user identity. |
SET_CONTEXT | { context: string } | Sets global context that persists across the session. |
CLEAR_CONTEXT | None | Clears the global context. |
Conversation management commands
| Command | Payload | Description |
|---|---|---|
SEND_MESSAGE | { message: string } | Sends a message to the agent on behalf of the user. |
RESET_CONVERSATION | None | Clears the current chat history and starts a fresh conversation. |
DELETE_CHAT | None | Deletes the entire conversation history from the server. |
SET_WELCOME_MESSAGE | { message: string } | Overrides the default welcome message dynamically. |
Example: authenticating a user
The most common use of the SDK is identifying a user after they log into your app. Passing their details via SET_USER lets the agent address them by name and use their account context.
// After successful login
const userData = {
  firstName: "Jane",
  lastName: "Doe",
  email: "jane@example.com",
  customData: {
    accountId: "12345",
    planType: "enterprise"
  }
};

window.raiaChat.sendCommand('SET_USER', { user: userData });Iframe setup
Use the Iframe SDK for advanced cases where you need full control over the chat container placement. You embed the chat inside an <iframe> that you manage.
<div class="raia-chat-wrapper">
  <iframe
    id="raia-chat-iframe"
    class="raia-chat-iframe"
    src="https://raiabot.raia2.com/YOUR_AGENT_ID/chat"
    allow="camera; microphone;"
  ></iframe>
</div>

<script src="https://raiabot.raia2.com/assets/raia-chatbot-iframe.js"></script>

<script>
  const raiaIframeChat = new window.RaiaIframeChat({
    iframeId: "raia-chat-iframe",
    isSecurityKeyRequired: true, // set to false if you don't use an API key
  });

  window.addEventListener("DOMContentLoaded", () => {
    raiaIframeChat.sendCommand("INIT", {
      apiKey: "YOUR_API_KEY",
    });
  });
</script>SDK Command Reference (Iframe)
The commands for the Iframe SDK are identical to the Embed JS SDK. You use them via the raiaIframeChat instance you created.
raiaIframeChat.sendCommand("OPEN_CHAT", { page: "chat" });
raiaIframeChat.sendCommand("SEND_MESSAGE", { message: "Hello!" });CSS Customization (Iframe)
With the Iframe SDK, you have full control over the <iframe> and its container. The internal chat UI is styled via your Live Chat Design settings.
/* Outer wrapper for the iframe */
.raia-chat-wrapper {
  position: relative; /* or absolute/fixed */
  width: 420px;
  height: 600px;
  max-height: 80vh;
  border-radius: 24px;
  overflow: hidden;
  box-shadow: 0 18px 45px rgba(15, 23, 42, 0.45);
}

/* The iframe itself */
.raia-chat-iframe {
  display: block;
  width: 100%;
  height: 100%;
  border: none;
}Live Chat Security Key
Generate a Security Key in Live Chat settings to restrict access. Once enabled, the widget won't load unless you pass the key during initialization.
This article will walk you through generating a key and implementing the necessary code.
Step 1: Generate a Security Key
First, you need to generate the key from your admin panel.
- Navigate to Live Chat > Security.
- In the Security Key and Origins section, click Generate Security Key.
- Copy the generated key immediately. You will need it for your code.
- Click Save to activate the key.
Widget blocked until initialized
Step 2: Add the Security Key to your embed
To unblock the chat, you must pass the security key when the widget loads. This is done by using the onload attribute on your script tag to call a function that sends the INIT command.
The Code Logic
- The standard chat widget script is loaded with the
asyncattribute. - The
data-api-keyattribute still contains your Agent ID. - The
onload="onRaiaChatLoaded()"attribute is added to the script tag. This tells the browser to execute theonRaiaChatLoadedfunction as soon as the script is finished loading. - Inside the
onRaiaChatLoadedfunction, you use the SDK commandraiaChat.sendCommand(). - You send the INIT command and pass an object containing the
apiKeyfield.
Important note
apiKey field inside the INIT command must contain your Security Key, not your Agent ID. This is a special use case specifically for security key initialization.Code Implementation
Here is the complete code you need to add to your website. Replace the placeholder values with your actual Agent ID and Security Key.
<!DOCTYPE html>
<html lang="en">
  <head>
    <meta charset="UTF-8" />
    <meta name="viewport" content="width=device-width, initial-scale=1.0" />
    <title>Live Chat with Security Key</title>

    <script>
      // This function is called automatically when the chat widget script has loaded
      async function onRaiaChatLoaded() {
        // Send the INIT command with the Security Key
        raiaChat.sendCommand("INIT", {
          apiKey: "YOUR_SECURITY_KEY_HERE", // Paste the key you generated here
        });
      }
    </script>
  </head>

  <body>
    <h1>Your Page Content</h1>

    <!-- The Raia Chatbot Widget Script -->
    <script
      async
      src="https://raiabot.raia2.com/assets/raia-chatbot-widget.js"
      data-api-key="YOUR_AGENT_ID_HERE"
      onload="onRaiaChatLoaded()"
    ></script>
  </body>
</html>
Summary of Placeholders
| Placeholder | Your Value |
|---|---|
YOUR_SECURITY_KEY_HERE | The Security Key you generated in the admin panel. |
YOUR_AGENT_ID_HERE | The Agent ID from your Live Chat settings. |
Frequently asked questions
Can I open the chat when a user clicks a specific button on my site?
window.raiaChat.sendCommand('OPEN_CHAT').How do I style the widget to match my brand?
Does SET_USER create a new conversation?