What you will learn
- Understand the four categories of raia integrations.
- Embed the Live Chat widget using the JS SDK.
- Secure your Live Chat deployment using Security Keys.
- Pass user identity and context to the agent via the SDK.
The Integration Landscape
The raia platform is designed to sit at the center of your existing technology stack. Rather than replacing your tools, raia connects to them. We organize these connections into four distinct categories.
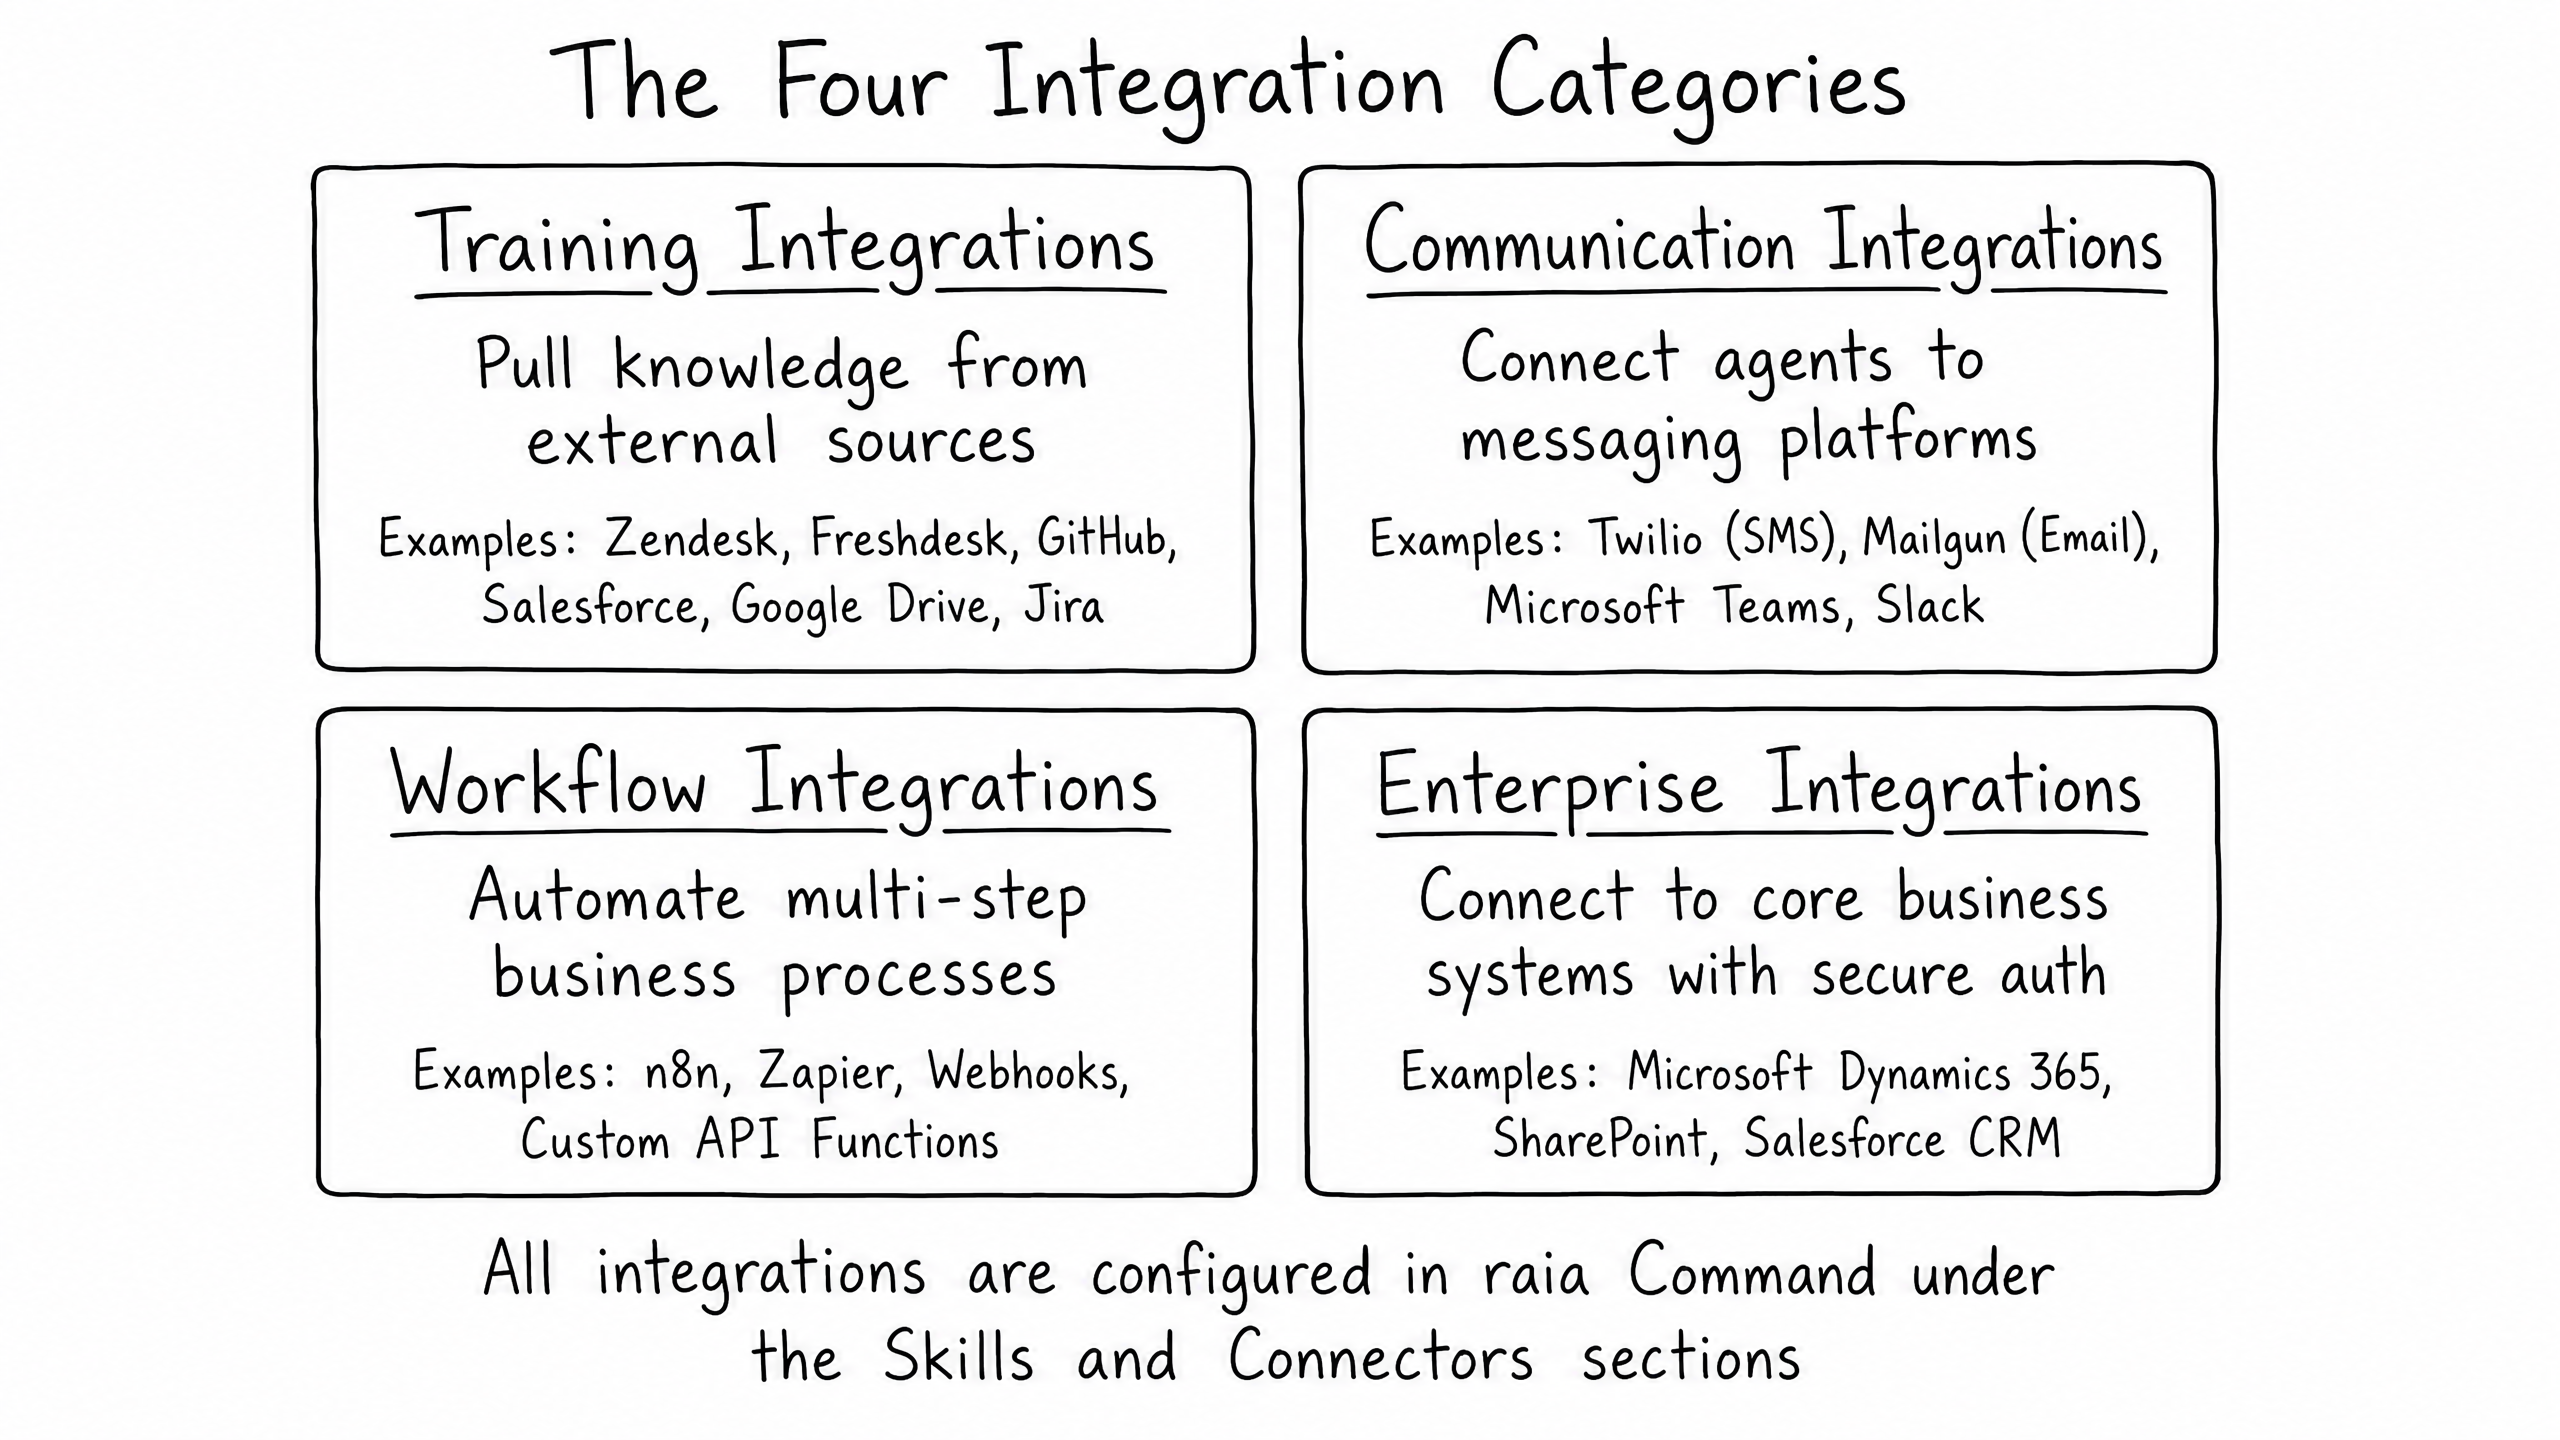
01
Training Integrations
Pull knowledge in to the agent's Vector Store. Examples: Zendesk Help Center, Google Drive, SharePoint.
02
Communication Integrations
Connect the agent to the channels where your users already are. Examples: Twilio for SMS, Mailgun for Email, Microsoft Teams.
03
Workflow Integrations
Connect the agent to automation platforms for multi-step processes. Examples: n8n, Zapier, custom Webhooks.
04
Enterprise Integrations
Connect to core business systems with secure server-to-server auth. Examples: Microsoft Dynamics 365, Salesforce.
Deploying Live Chat
The most common integration task is deploying the raia Live Chat widget to a website or web application. There are two ways to do this.
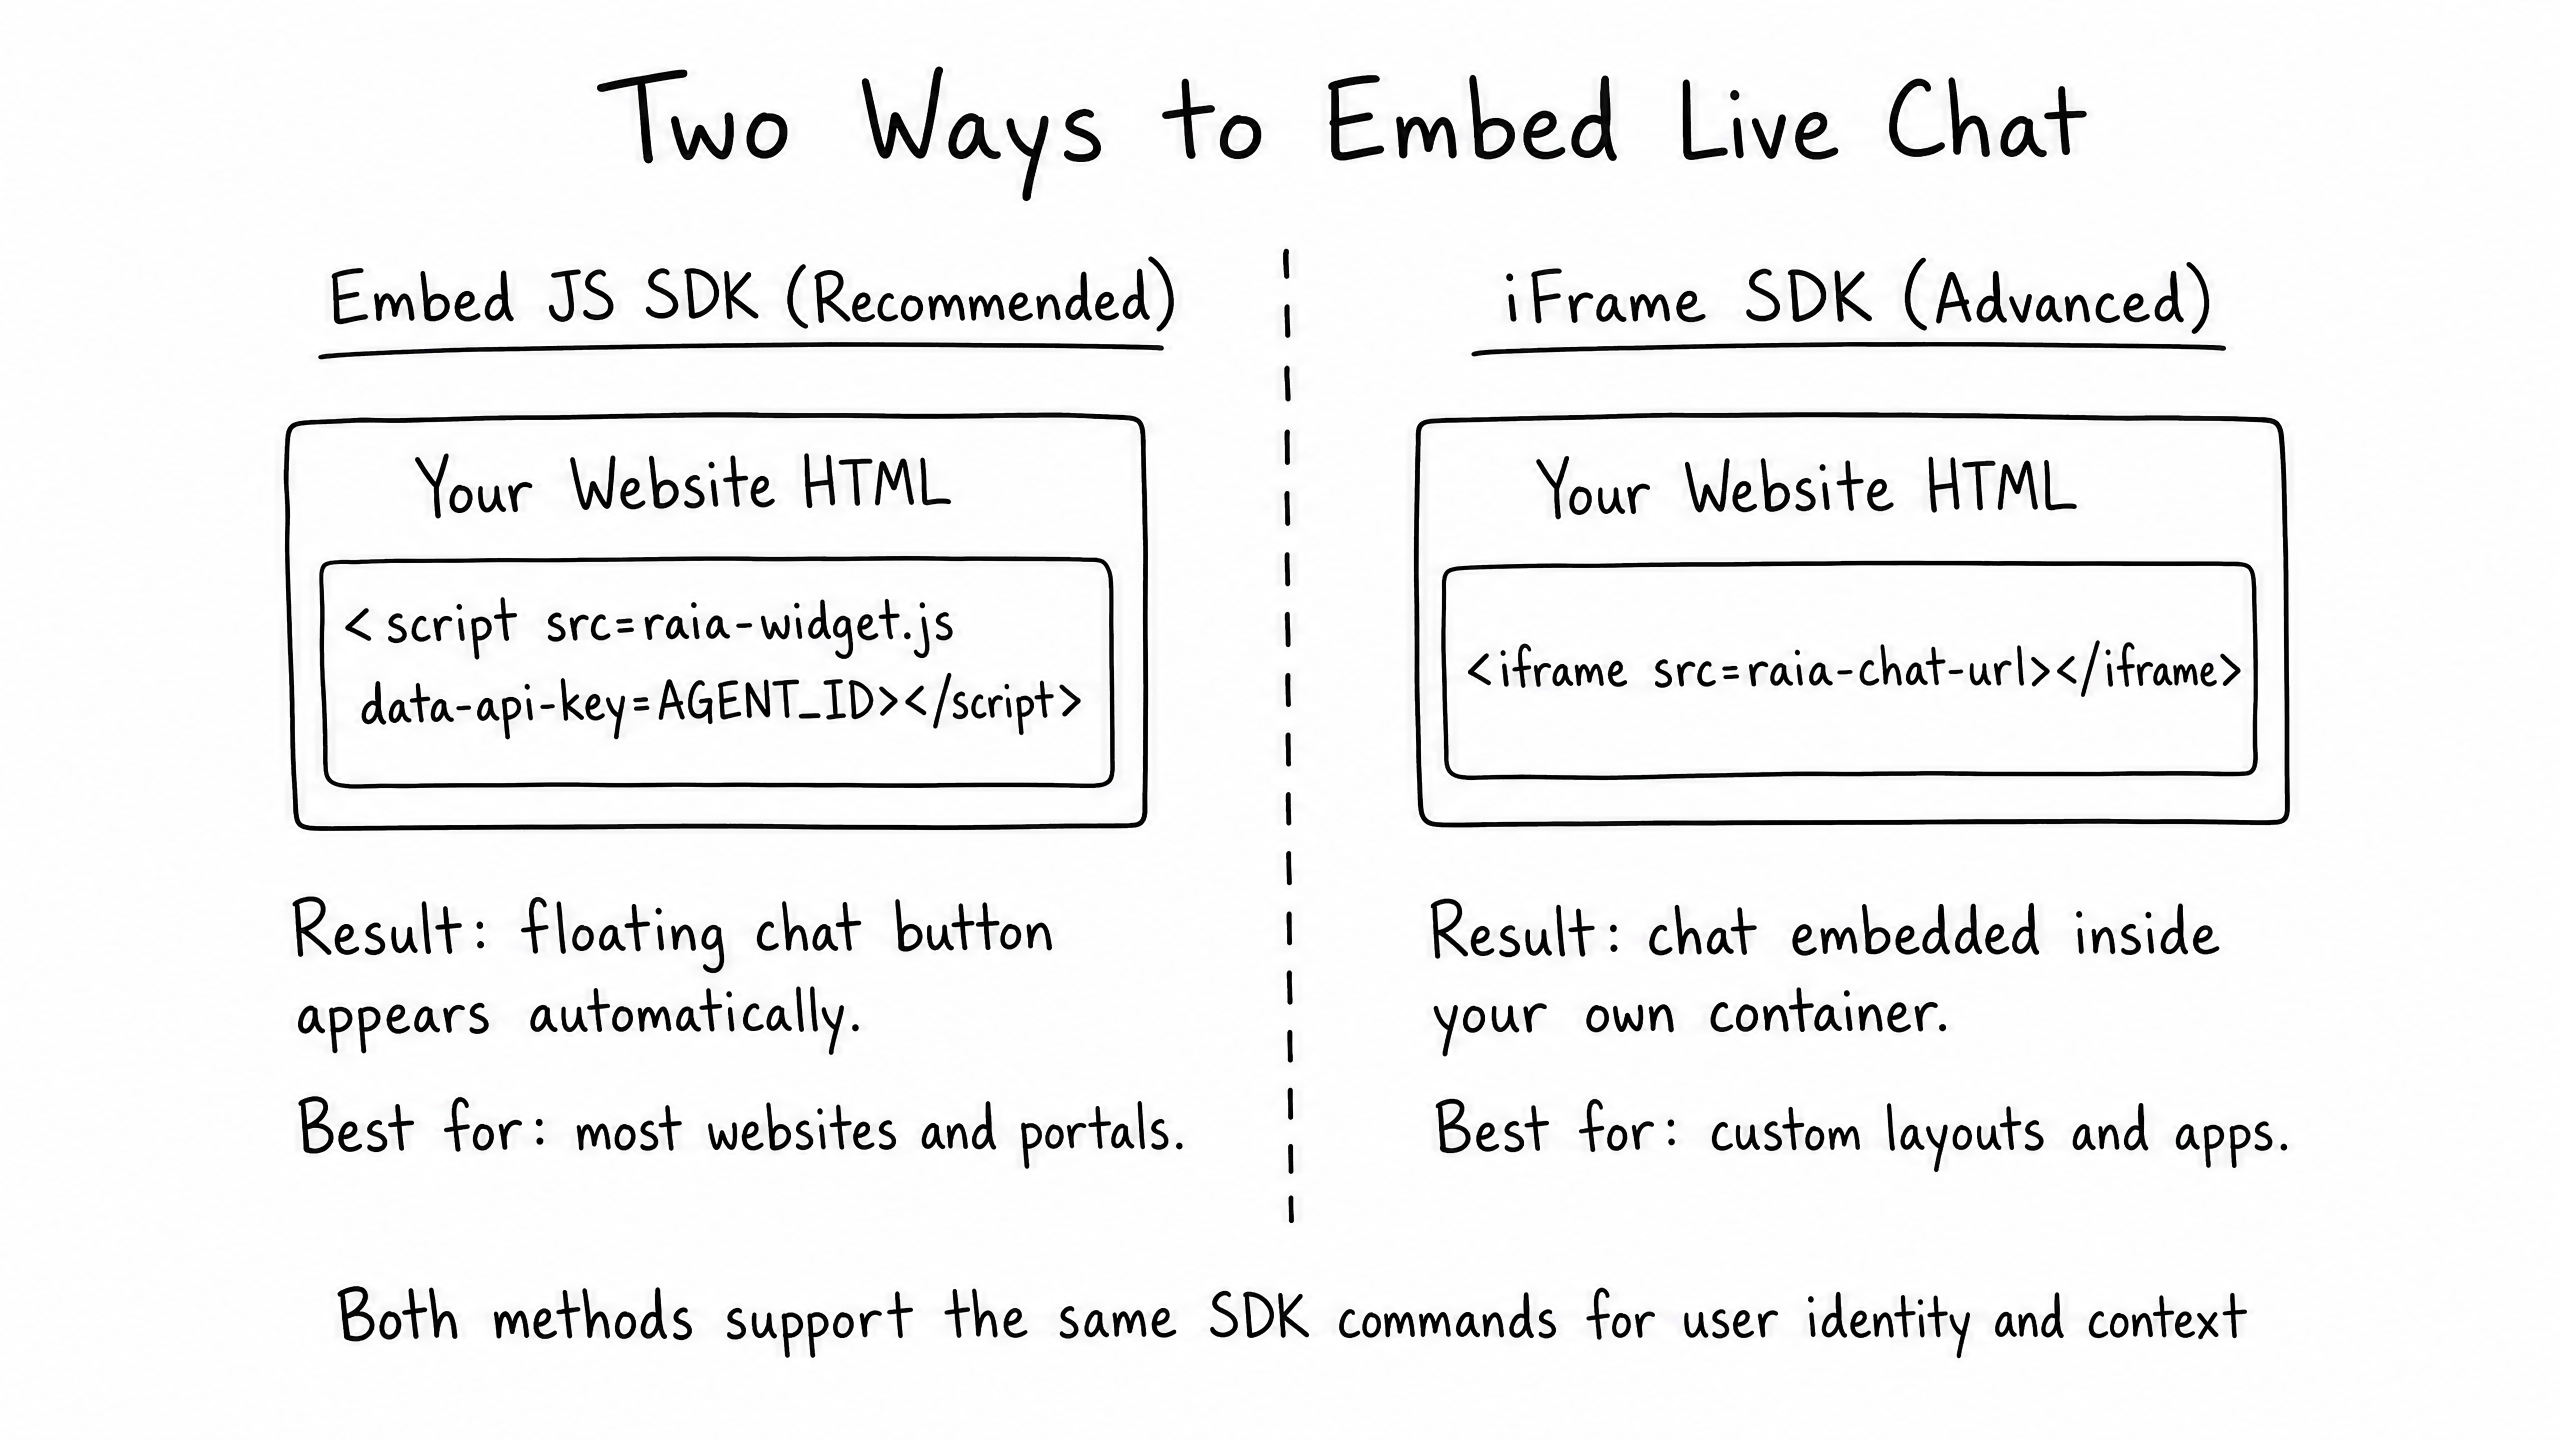
The JS SDK (Recommended)
For 95% of deployments, the JS SDK is the correct choice. You paste a single <script> tag into your HTML just before the closing </body> tag. The script automatically injects the floating chat launcher and handles all UI rendering.
<script
  async
  src="https://raiabot.raia2.com/assets/raia-chatbot-widget.js"
  data-api-key="YOUR_AGENT_ID">
</script>
Note: The data-api-key attribute requires your Agent ID, not an API key.
The iFrame SDK (Advanced)
If you are building a custom web application and need the chat interface to sit inline within a specific <div> rather than floating over the page, use the iFrame SDK. This gives you complete layout control while raia still handles the chat rendering inside the frame.
Securing the Chat Widget
If you deploy the widget using only the basic script tag, anyone who inspects your source could theoretically copy your Agent ID and embed your agent on their own website. To prevent this, you must implement a Security Key.
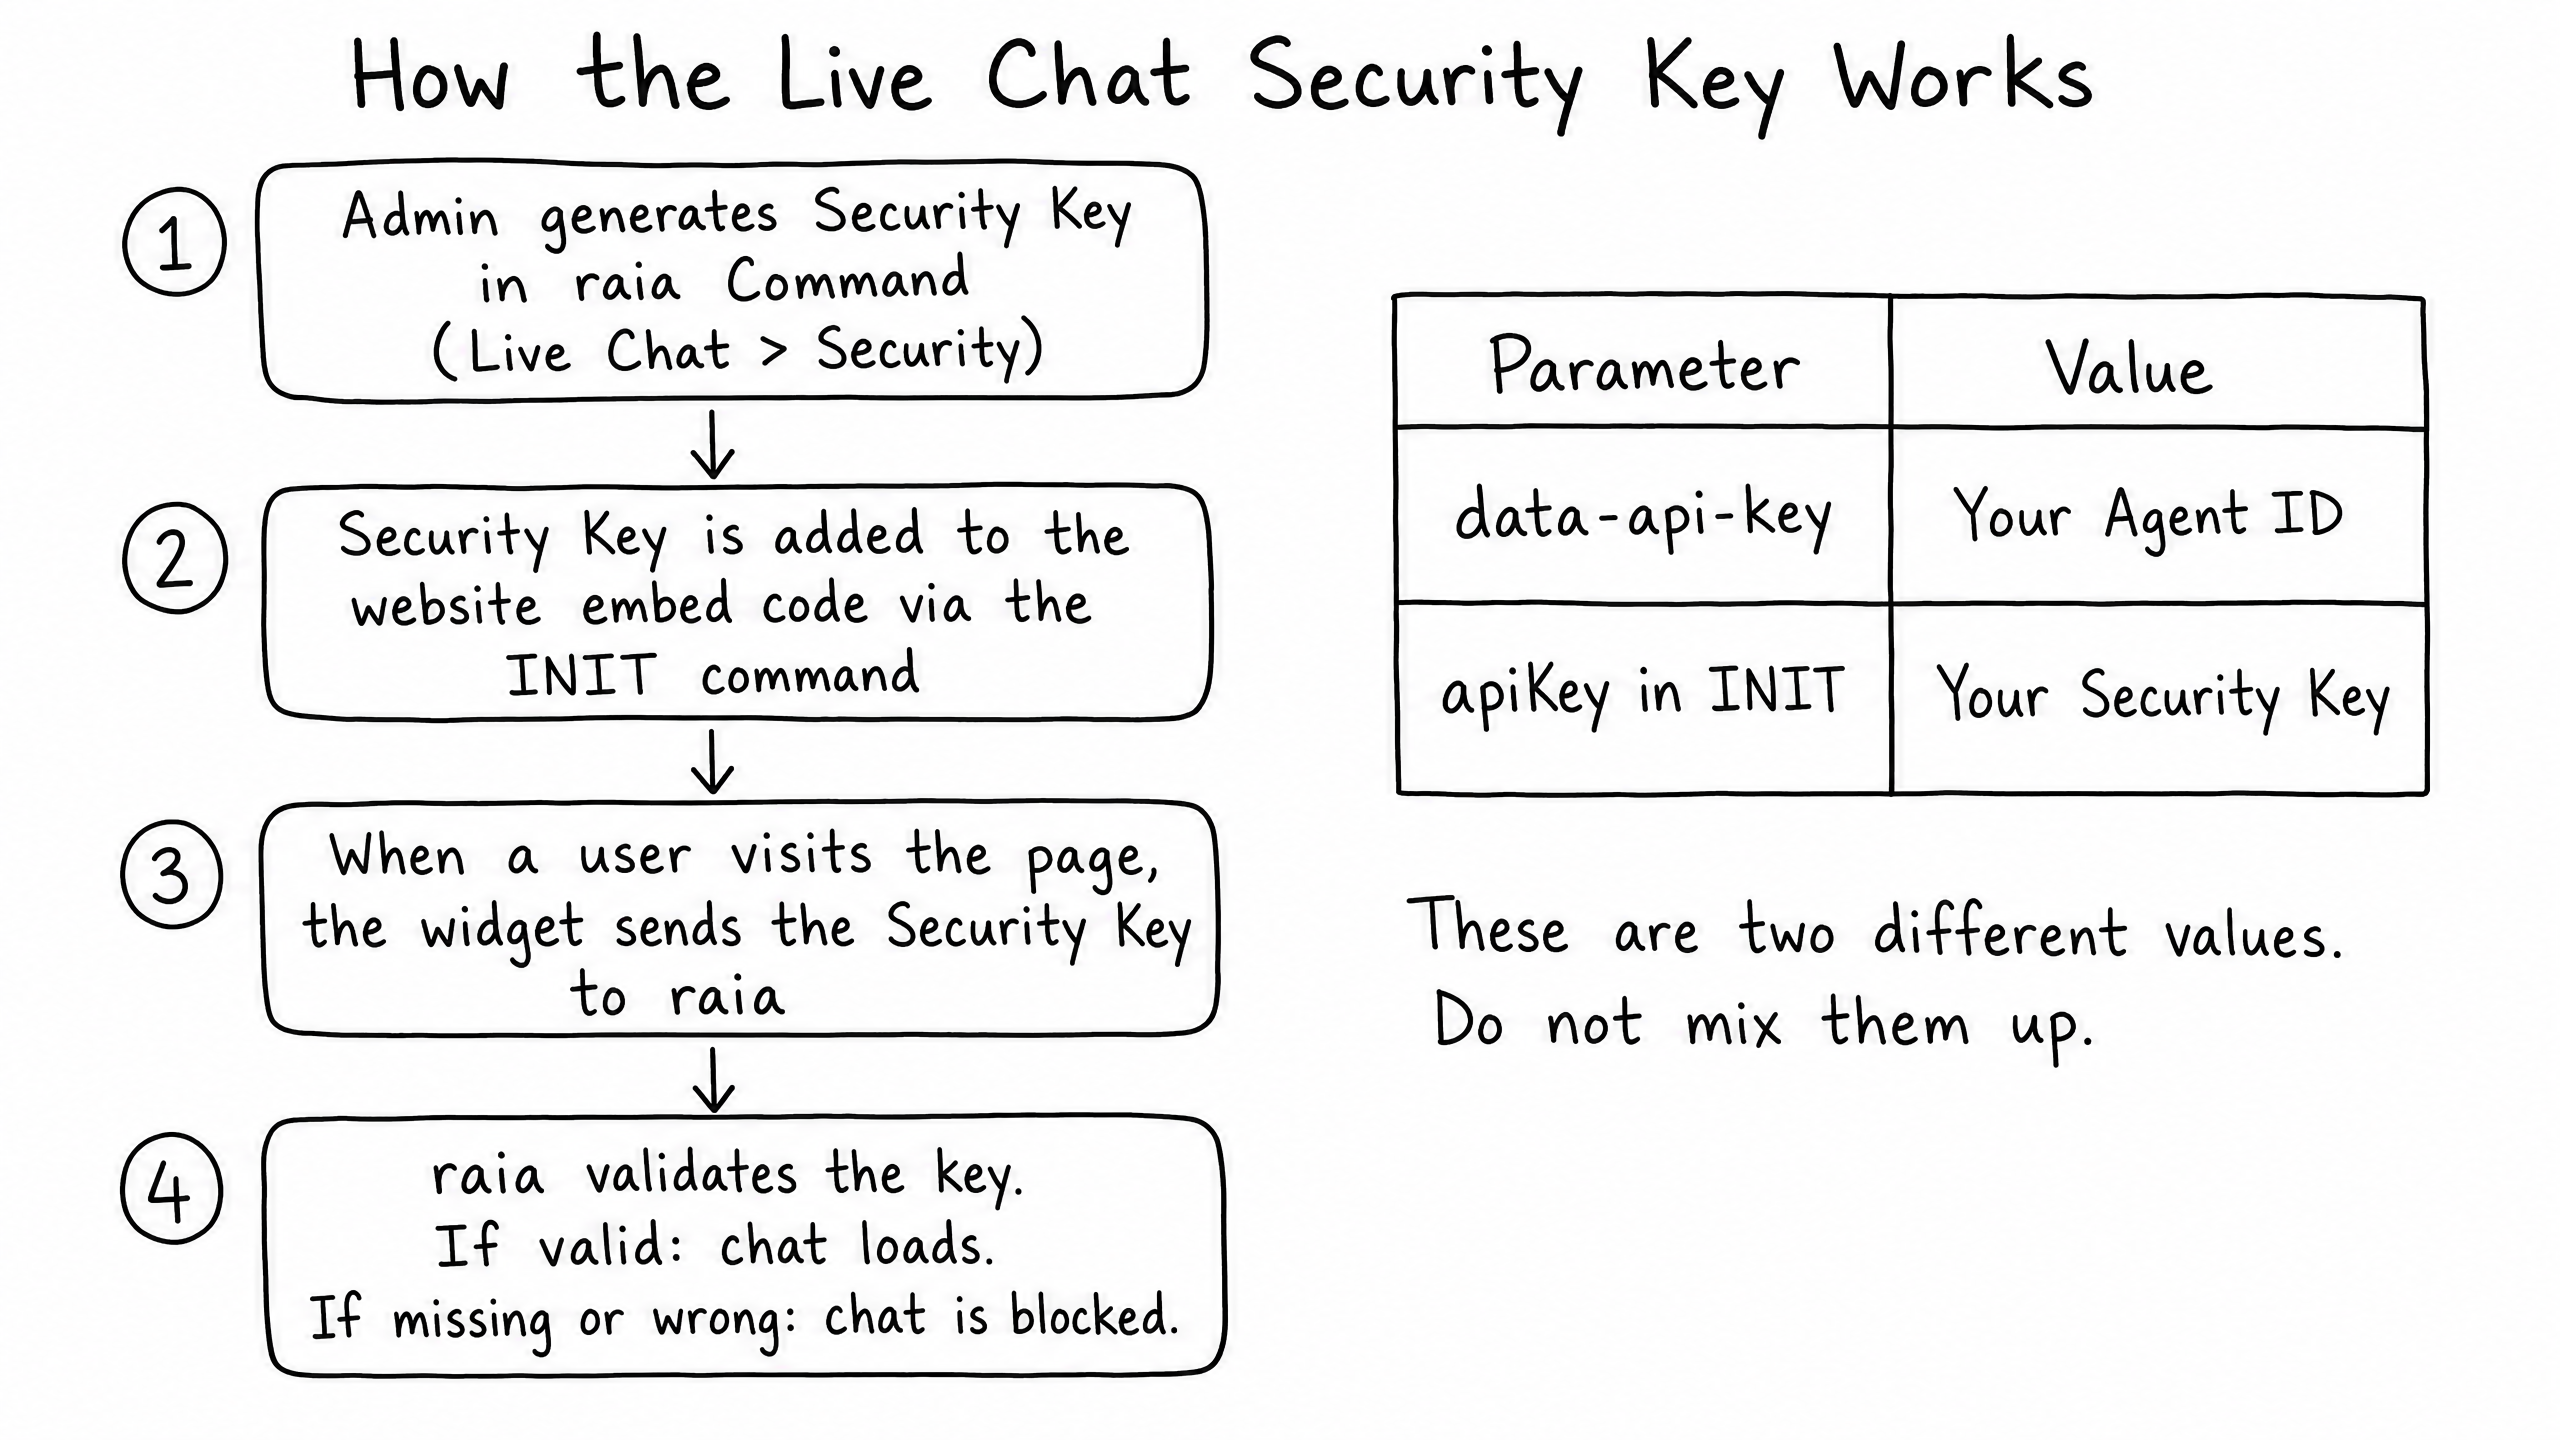
When you generate a Security Key in raia Command, your chat widget is immediately blocked from loading anywhere until that key is passed during initialization. Pass the key via the onload attribute on the script tag:
<script>
  async function onRaiaChatLoaded() {
    raiaChat.sendCommand("INIT", {
      apiKey: "YOUR_SECURITY_KEY_HERE"
    });
  }
</script>

<script
  async
  src="https://raiabot.raia2.com/assets/raia-chatbot-widget.js"
  data-api-key="YOUR_AGENT_ID_HERE"
  onload="onRaiaChatLoaded()">
</script>Passing User Context
A secure, embedded chat is good, but a context-aware chat is better. If a user is logged into your application, pass their identity to the agent so they do not have to introduce themselves. Once the widget is loaded, use the SET_USER command:
raiaChat.sendCommand("SET_USER", {
  user: {
    firstName: "Jane",
    email: "jane.doe@example.com",
    fkId: "customer-12345",
    customData: {
      plan: "Premium",
      isLoggedIn: true
    }
  }
});
The agent can now personalize responses (e.g., "Hi Jane, I see you are on the Premium plan...") and the identity will be attached to the conversation in Copilot.
Frequently Asked Questions
Can I use the SET_USER command to securely authenticate users?
No. The SET_USER command runs client-side and should only be used for context and personalization, not strict security authorization. Do not pass highly sensitive data in the customData object.
What happens if I rotate my Security Key?
The old key immediately becomes invalid. Any chat widgets using the old key will fail to load until you update the code on your website with the new key.
Does raia support SSO (Single Sign-On)?
Yes, raia supports enterprise SSO (SAML/OIDC) for platform access (Command, Copilot, Control). This is configured separately from the Live Chat widget security.